
The Azure portal makes it easy to setup continuous integration between a GitHub public repository and an Azure Web Site. The great advantage here is that your web app will continuously be in synch with your published source code. Kudu is the deployment engine running on Azure that responds to commit push events from Github.
Lets start with creating a new Web API in the Azure portal, by selecting ‘+New’->Compute->Web App->Quick Create. Select your service plan, URL and subscription.

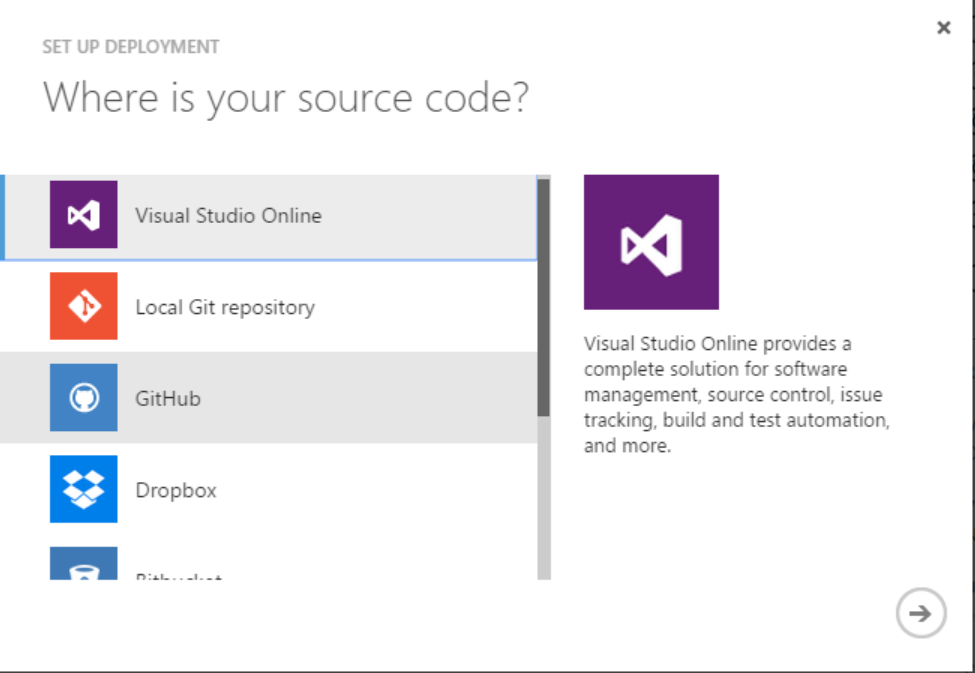
Click into your newly created site, and select ‘Set up deployment from source control‘ from the web app’s dashboard, which brings up this screen.
Select GitHub
Select your repo and branch: After this point any commit that’s pushed to this repo’s branch will trigger a new deployment.

Azure will start linking Kudu to your repository. What’s happening here, is Azure is attaching a GitHub web hook to the repository. This web hook is what associates both the repository and your Azure website together.
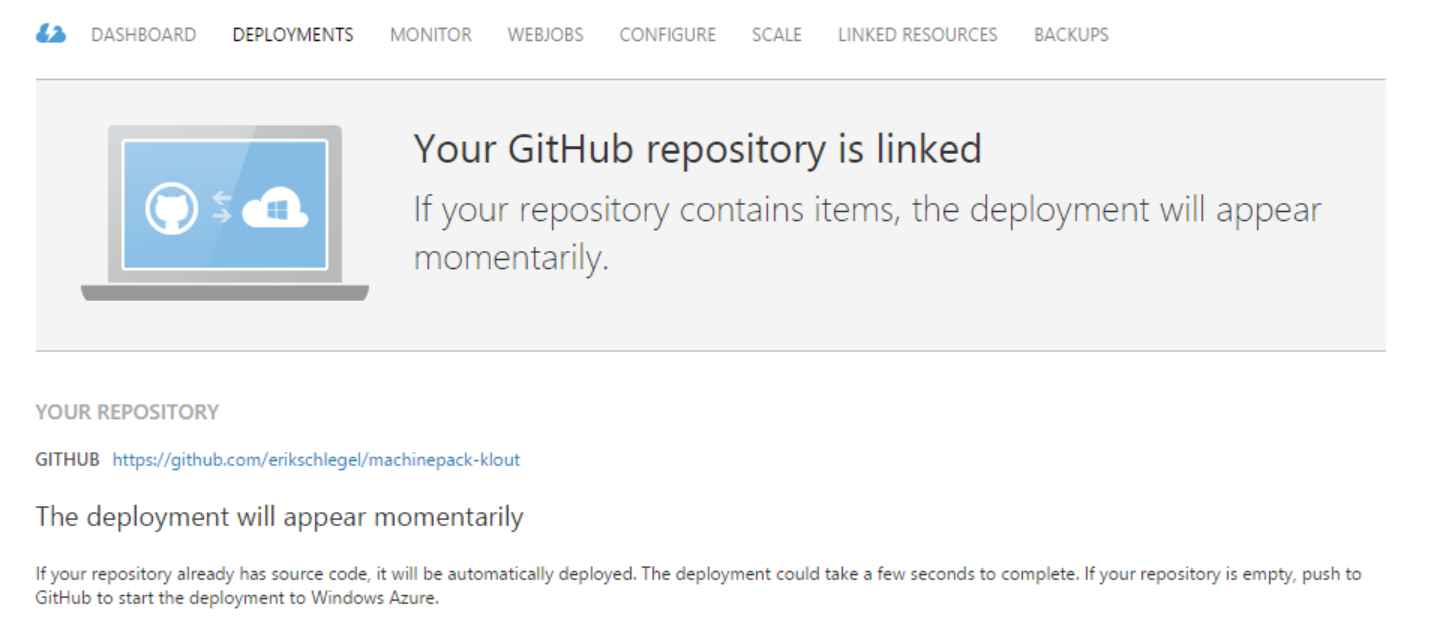
Then Kudu will attempt to run your first deployment, and report the status.

That’s it. Kudu will be notified to trigger a new deploy on your Web App in Azure for any code push onto your Github repo.
That’s great, but why can’t I select my private repositories?
So, the interactive process mentioned above doesn’t seem to support private repositories. However, Kudu does support private GitHub repo’s… We just have to do some extra work.
Step 1.Enable the Local Git Repository
First step is enabling local git option on the azure portal for your web app. Go to the dashboard for the Web App.
select 'Setup deployment from source control'Choose Local Git repository
Step 2. Set your deployment credentials
Now we’ll define the credentials that will be used to authenticate the deployment request. Go to the web app’s dashboard.
- Select reset deployments credentials
- Enter the user name / password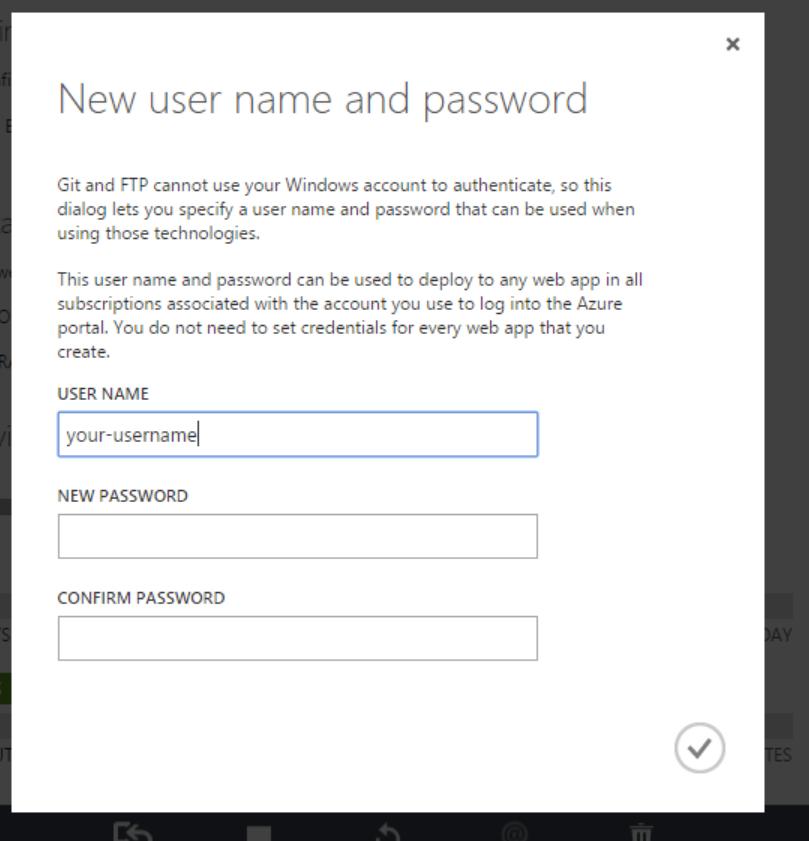
Step 3. Setup the Web Hook in Github so Kudu is notified
Under the covers, Kudu uses GitHub web hooks to trigger the deploy and notify Azure when a commit event occurs on a repo. We’ll setup the webhook on our repo to notify Azure/Kudu to grab the latest changes on our master branch.
The hook URL is the /deploy path on the Kudu service.
The full URL will look like this https://$myusername:Password@mysite.scm.azurewebsites.net/deploy.
The easiest way to get this URL is to directly copy it from the Azure Portal.
Go to the Configure tab, and copy the Deployment trigger field
Go to the Settings tab for the repo in Github.com
- Select Add a new web hook
- Paste the trigger URL in the 'Payload URL' field
- Set the content type to x-www-form-urlencoded
- Click Add Web hook

Step 4. Setup the deployment key
The final step is setting up the SSH-RSA deployment key on our private repository in Github. All Azure websites have a /api/sshkey service which returns back the SSH key for the site, using the deployment credentials we created in Azure from step 2.
This can be done by carrying out the following steps.
1. You'll want to take the deploy URL from the previous step, and replace '/deploy' with '/api/sshkey?ensurePublicKey=1'.
2. Take the username and password from step 2 and plug them into the credentials portion of the URL. The URL should look something like this 'https://$deploy-user:$deploy-password@mysite.scm.azurewebsites.net/api/sshkey?ensurePublicKey=1'
3. You'll want to run a curl command on that URL. The service will return a JSON response including the SSH public key.
4. In Github, go to your repo's settings and select the 'Deploy Keys' tab. Copy the SSH key from the previous step(remove the double quotes), and add a new key by pasting the RSA key into the 'Key' textarea. 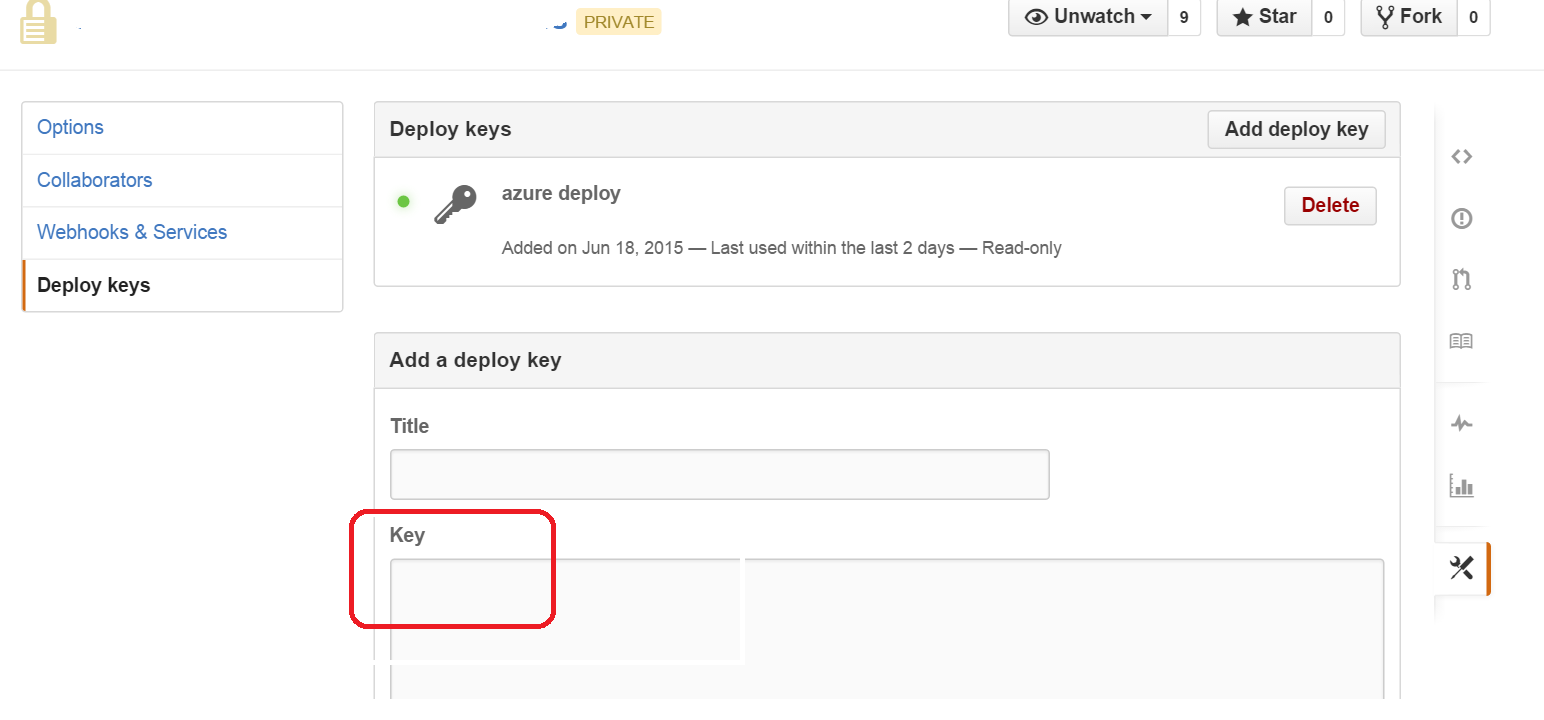
Test it out
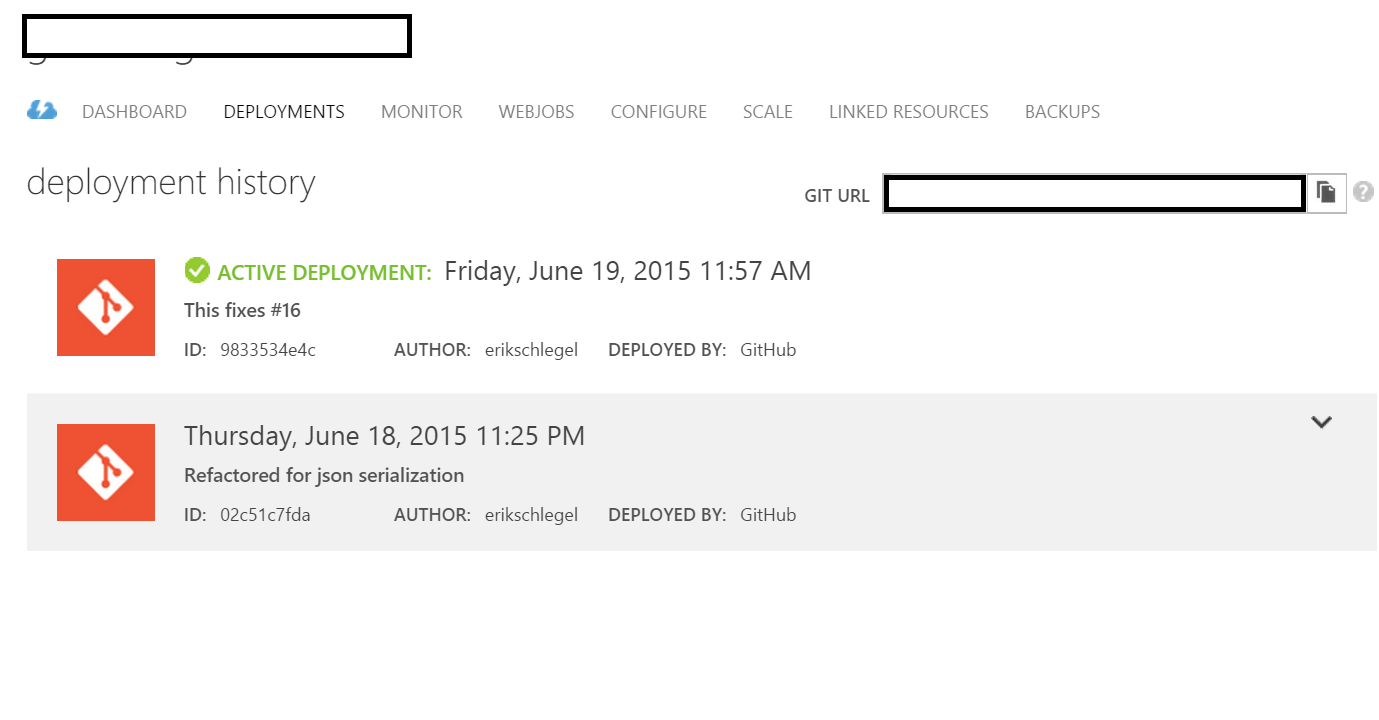
To validate that continuous deployment is fully functional, push a change to your git repo and review the deployment history for your site in the Azure Portal. Deployment logs can be found in the Deployment tab, as highlighted below.
Feel free to send me an email if you run into any issues.
Erik
